
The Ultimate Deck Prep Recipe: Why Proper Preparation Is the Secret to a Long-Lasting Finish

The Ultimate Deck Prep Recipe: Why Proper Preparation Is the Secret to a Long-Lasting Finish
When it comes to grilling, everyone knows the secret to great flavor starts before the food ever hits the grill. The same idea applies to deck painting and staining—proper preparation is the foundation of a finish that looks great and lasts for years. Without it, even the highest-quality products will fail prematurely.
The first step in any professional deck prep “recipe” is a thorough cleaning. Over time, decks collect dirt, mildew, algae, and old coatings that prevent new stain or paint from properly bonding to the surface. Pressure washing removes these contaminants and creates a clean base, but it must be done carefully. Too much pressure can damage the wood, while too little won’t fully remove buildup. This is where professional experience makes a difference.
Once the surface is clean, the next step is allowing the deck to dry completely. Moisture trapped in the wood can lead to peeling, bubbling, and uneven finishes. In Northeast Ohio, where humidity levels can fluctuate, proper drying time is critical to achieving a durable result. Skipping this step is one of the most common mistakes homeowners make when attempting DIY deck staining.
After drying, sanding becomes an essential part of the preparation process. Sanding smooths out rough areas, removes any remaining failing coatings, and opens up the wood grain so that stain or paint can penetrate effectively. This step not only improves adhesion but also enhances the overall appearance of the finished project.
Inspection is another key ingredient that often goes overlooked. Before applying any product, it’s important to check for loose boards, popped nails, or structural issues that could impact the longevity of the deck. Addressing these concerns ahead of time ensures a safer, more stable surface and prevents future problems.
Finally, selecting the right primer or pre-treatment product can make a significant difference in performance. Certain decks, especially older ones, benefit from products designed to improve adhesion and extend the life of the finish. This added layer of protection helps your deck withstand Ohio’s harsh seasonal changes, from hot summers to freezing winters.
When done correctly, preparation transforms your deck from a worn surface into the perfect canvas for a beautiful, long-lasting finish. It’s not the most glamorous part of the job, but it’s the step that determines whether your investment lasts a couple of seasons or well over a decade.

The Maintenance Recipe to Keep Your Fence Looking New

🔥 The Maintenance Recipe to Keep Your Deck Looking New
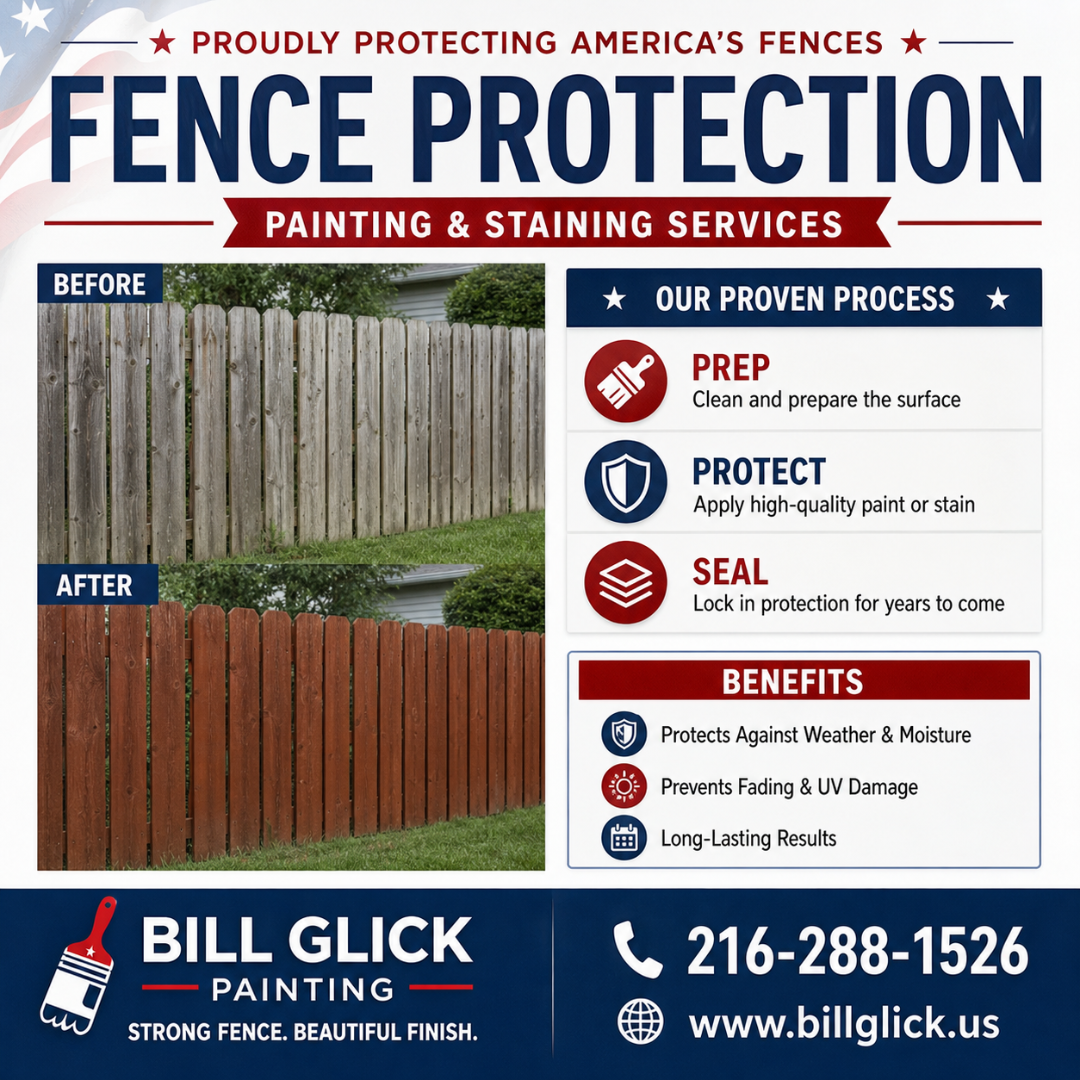
🔥 The Ultimate Protection Recipe for Your Fence
